We have been working on and using custom Qt theming in Fedora Workstation for many years now. By custom Qt theming, I’m talking about the QGnomePlatform and Adwaita-qt projects. If you haven’t heard of them, you can read my recent blog post explaining what they are. While these projects are in some ways better than what Qt upstream has to offer, there were also drawbacks/issues and that’s why I decided to make a final decision and discontinue both projects. The issues are explained in the aforementioned blog post, but one of the main drawbacks is that we are in this development alone and not working directly in the upstream makes it less attractive for other contributors. It’s also not used by default anywhere other than Fedora, so it’s not properly tested by other developers working on Qt applications using different distributions. These reasons led me to submit a Fedora 39 feature to remove our custom Qt theming in Fedora Workstation in favor of Qt’s defaults. The only problem is that if we just go with Qt’s default, we would go backwards a bit. This is because upstream Qt does not provide any decent client-side window decorations (problem #1), and the QGtkTheme in Qt5 (QGnomePlatform equivalent) is a bit behind its Qt6 version with many improvements and integration goodies (problem #2) recently made by Axel Spoerl of the Qt Group, whom I met during this year’s KDE Akademy.
Solution to problem #1
QGnomePlatform used to be our solution to this problem, as QGnomePlatform implemented it’s own version of the QWaylandAbstractDecoration plugin. This was a GTK 3-like decoration plugin that used Adwaita-qt for button rendering and QGnomePlatform bits (e.g. GSettings configuration) to get the titlebar layout. Since we are going to remove QGnomePlatform, we needed an alternative. So I started working on the QAdwaitaDecorations project. This is supposed to be a an intermediate step as I would like to have a proper GNOME/Gtk decorations directly in Qt upstream, but since I was in a hurry to get everything done in time for Fedora 39, we have this for now. QAdwaitaDecorations plugin is based on the decorations we have in QGnomePlatform, but there is no dependency on GTK or Glib (e.g. GSettings) or on Adwaita-qt. We use xdg-desktop-portal to get the titlebar layout and do our own drawing instead. This decoration plugin should also have now a GTK 4-like style so the buttons and colors of the decorations are different.
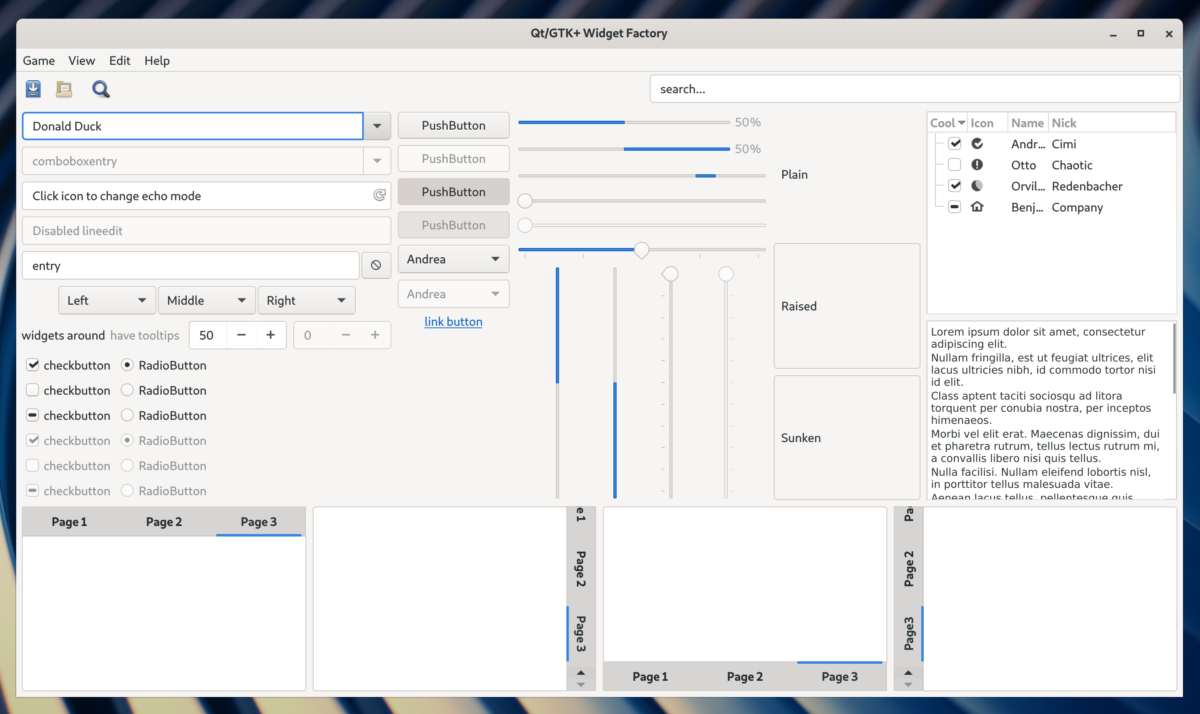
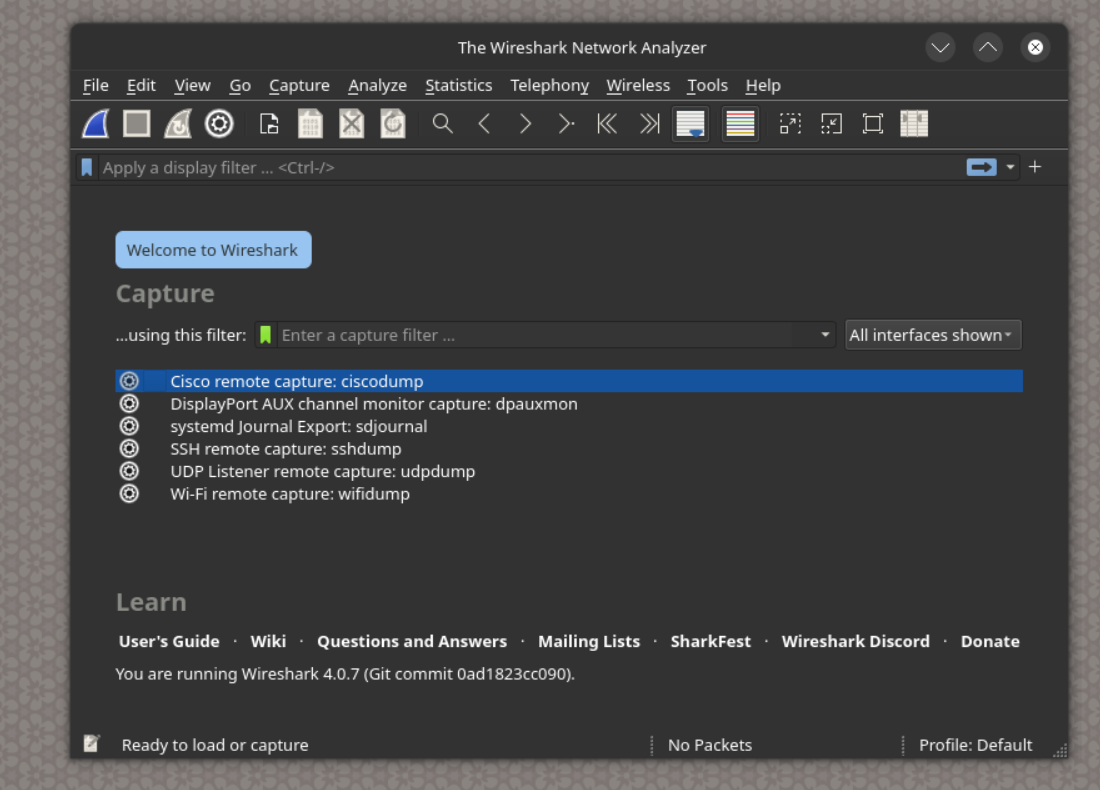
Below is a screenshot of Wireshark (Qt6) using QAdwaitaDecorations plugin + QGtkTheme + Fusion:
Solution to problem #2
Since Qt5 is no longer actively developed, the only possible solution is to backport all QGtkTheme improvements from Qt6, so I did that + modified some of those changes to avoid breaking binary compatibility. This results in about ~15 related backports to Qt5 so far, and it seems to work pretty well. I also made sure that Fedora 38 and older will still use QGnomePlatform by default, so we don’t change the behavior for existing users. Also, a small change to our QtWayland package was needed to make it use the new decoration plugin by default.
Future plans
As mentioned, I would really like to have everything directly in Qt upstream (talking about QAdwaitaDecorations). That way we get other contributions and thus fixes/improvements for free and a lot more users. Another thing is that QGnomePlatform supports things that are not yet supported/implemented in QGtkTheme, like support for xdg-desktop-portal instead of just relying on GSettings. Not to mention that GTK 4 has been around for a while, and both QGnomePlatform and QGtkTheme are still GTK 3 based. I will definitely try to make some of these things happen for Fedora 40, but knowing myself, it’s better not to make any promises, as things usually don’t go according to plan.